
Introduction
An IR (Infrared sensor)is an electronic device, that emits in order to sense some aspects of the surroundings. An IR sensor can measure the heat of an object as well as detects the motion. The emitter is simply an IR LED( Light Emitting Diode) and the detector is simply an IR photo diode that is sensitive to IR light of the same wavelength as that emitted by the IR LED.
Items Required
- An IR sensor
- Arduino UNO
- Connecting cable
- Jumpers
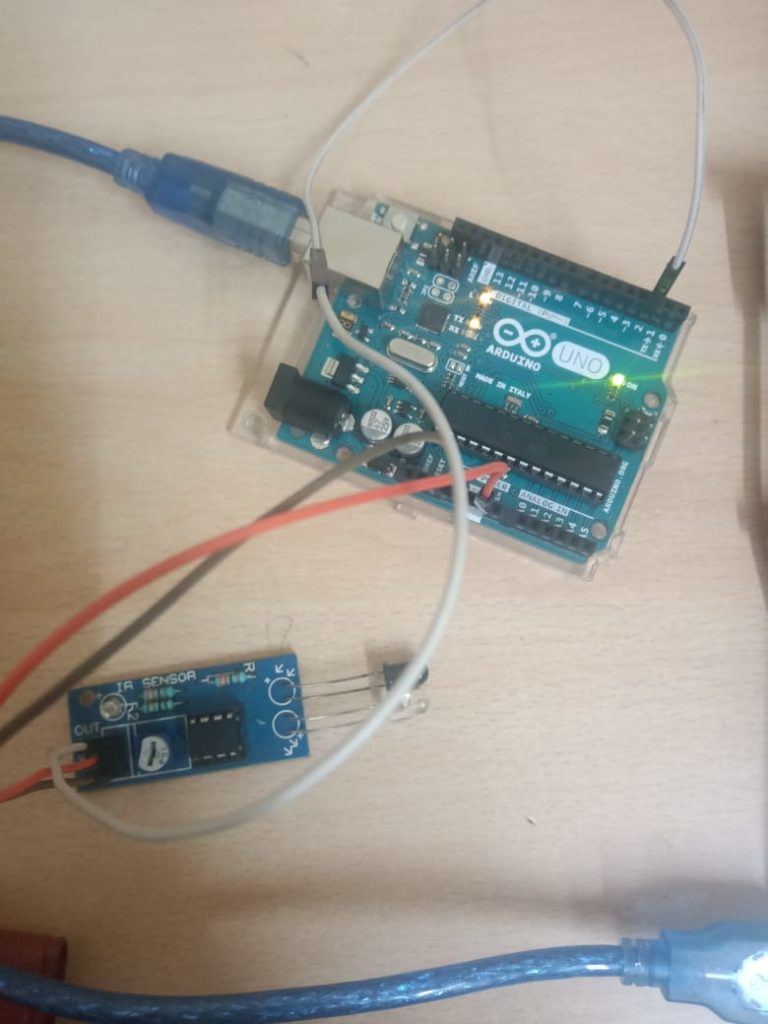
Circuit: IR sensor
You will have to establish mainly 3 connections for the same. Firstly , connect the VCC pin to 5V pin and the GND to ground of the board. The OUT pin will be connected to the digital pin (D2) here.

Sketch
The sensor will detect the object and wills end a value (1) to the arduino. This will be read by the digital pin D2. If any object gets detected, ” object detected” will be printed in the serial monitor, else “no object detected” will be printed. The LED present in the module will blink when any object is detected. A variable is declared for the pin D2. You should define the pin-mode in the setup() area. In loop() area, the above commands are coded.
int IRSensor = 2; // connect ir sensor to arduino pin 2


void setup()
{
  pinMode (IRSensor, INPUT); // sensor pin INPUT
  Serial.begin(9600);
}

void loop()
{
  int statusSensor = digitalRead (IRSensor);

  if (statusSensor == 1){
    Serial.println("obstacle detected");
  }

  else
  {
    Serial.println(" No obstacle detected");
  }

}
Hope you were able to do it.


